Isolate a Machine
In this tutorial, we will explain, step-by-step, how to isolate a machine with the Cybereason API.
You must have the Analyst L3 role to perform these requests.
You may want to use the API to automate isolation of machines to prevent further damage to the network. You can use the API to isolate machines.
Build the request
Note
The request body is the same regardless of how you run the request (such as a cURL command, in a REST API client, or Python script).
In your REST API client, open a new tab/file.
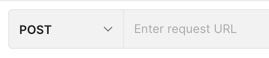
In the relevant field, enter the URL for the request:
https://<your server address>/rest/monitor/global/commands/isolate
Note
If you want to remove the machine from isolation, you use un-isolate instead of isolate in the URL.
For example, in Postman, you enter the URL here:

Ensure that the method for the request is set to POST. (This may be the default for your REST API client, but if not, ensure that you select it.)
For the Headers, in the Key column, add a Content-Type header.
In the Value column, add the value application/json.
For example, in Postman, your header will look like this:
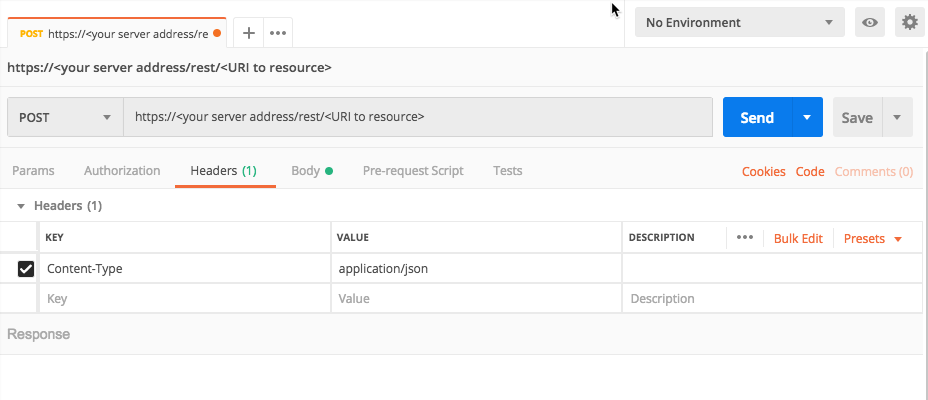
Navigate to the section to add your request body. In Postman, for example, this is the Body tab.
In the Body tab, ensure that you have set your client editor to enable you to add raw JSON content. In Postman, for example, ensure that Raw is selected.
In the request body edit area, enter an open and closed bracket {}. This is the standard syntax for JSON.
Inside the brackets, add this template request body:
{
          "pylumIds": [
              "<sensor ID>",
              "<sensor ID>"
          ],
          "malopId": "<MalopID>"
      }
When you isolate a machine, you need to specify the specific sensors to isolate, along with the Malop to which they are associated. For the sensor ID, you need the special pylum ID the Cybereason platform uses to identify the machine on which a sensor is installed.
In the request body, in the pylumIds object, for the <sensor ID> placeholder value, replace the value PYLUMCLIENT_INTERNAL_WIN_XP123456_0050568A74AC (a fictitious sensor).
{
          "pylumIds": [
              "**PYLUMCLIENT_INTERNAL_WIN_XP123456_0050568A74AC**",
              "<sensor ID>"
          ],
          "malopId": "<MalopID>"
      }
Remove the second <sensor ID> placeholder value along with the comma after the first value:
{
          "pylumIds": [
              "PYLUMCLIENT_INTERNAL_WIN_XP123456_0050568A74AC"
          ],
          "malopId": "<MalopID>"
      }
To isolate a machine using this request, you can also specify a Malop ID for a Malop associated with the machine. To specify a Malop, you provide the Malop ID as part of the request body. If you do not want to specify a Malop, set the value to null.
For the malopId key, update the <MalopID> placeholder value with 11.-4040827324870650429.
{
          "pylumIds": [
              "PYLUMCLIENT_INTERNAL_WIN_XP123456_0050568A74AC"
          ],
          "malopId": "**11.-4040827324870650429**"
      }
Run the request and check isolation progress
In your client machine, run the request.
The Cybereason platform returns a very simple request, with the name of the machine and the status of the isolation operation.
{
 "PYLUMCLIENT_INTERNAL_WIN_XP012987_0050123A74AC": "Succeeded"
}
You want to ensure the request has a Succeeded status to know if the isolation was successful.
Next steps
Now that you understand how to perform isolation with the API, you are ready to add this request as part of your automation with the Cybereason API.